The goal here is to:
- read in all the del.icio.us pages for ai and all its related tags, using the list generated in Part 1 (taglist.txt) to get the correct URLs;
- for each of these pages, get its own list of related tags in turn;
- use this information to construct a list with lines of the form pagetag -> {relatedtag1 relatedtag2 ...} ; , one for each page retrieved;
- construct a list of ai and all its related tags, assigning colors to them via statements of the form tag1 [style=filled, color=lightblue];
- concatenate the formatted lists into one list;
- add a suitable beginning and end to this list to make it into a dot file.
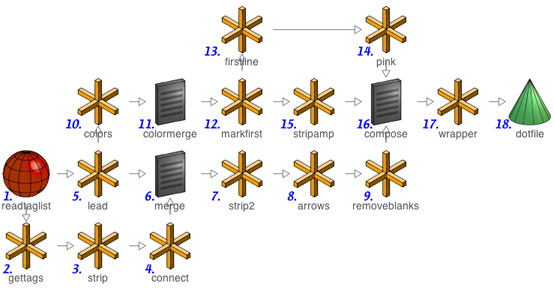
A schematic of the processor follows:
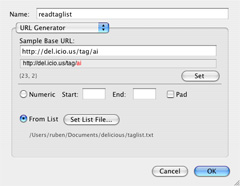
1. readtaglist: We first need to read in all the del.icio.us pages for ai and its related tags. To do this, we need to tell the program where the file generated by the preprocessor (taglist.txt) is stored - make sure to change this to where it is stored on your system. Note that the "Sample Base URL" does not need to be changed, no matter what tag you're interested in - it simply provides Anthracite with a template for del.icio.us URLs, so that it knows which part of the URL to replace with the information read in from taglist.txt:
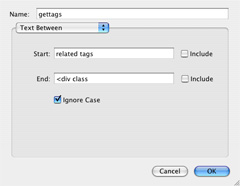
2. gettags: Next, we retrieve the related tags section for each of these pages, just as we did in Part 1:
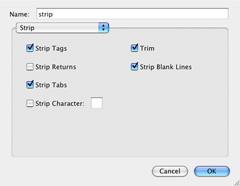
3. strip: As in Part 1, we get rid of all the unnecessary HTML junk:
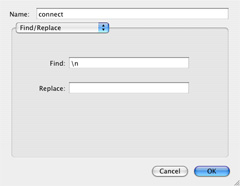
4. connect: Next, we need to replace the line breaks in the lists we have just constructed with spaces (the "Replace" section below contains a single space typed into it). This corresponds to constructing the portion of the line described as relatedtag1 relatedtag2 ... above:
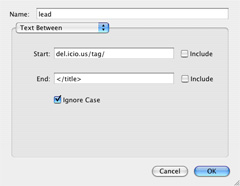
5. lead: We now need to get the portion of the line described as pagetag above for each retrieved page. To do this, we proceed as in Part 1:
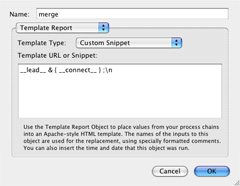
6. merge: We can now merge the results of the two preceding steps. The custom snippet below means "write out the result of lead, then a space, then an ampersand, then a space, then a left curly brace, then a space, then the result of connect, then a space, then a right curly brace, then a space, then a semicolon, then a line break". The ampersand is a placeholder that we will later replace with "->" - we need to wait, though, since we still need to strip some HTML comments added to the merged result by Anthracite, and the "->" would confuse the HTML stripper. The result takes the form pagetag & {relatedtag1 relatedtag2 ...} ;
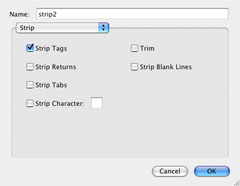
7. strip2: We now get rid of the HTML comments added by Anthracite:
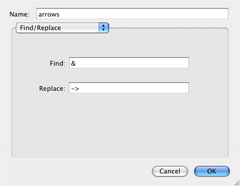
8. arrows: Now, we can replace the ampersands we used as placeholders with "->". Once we have done this, all lines will be of the desired form pagetag -> {relatedtag1 relatedtag2 ...} ;
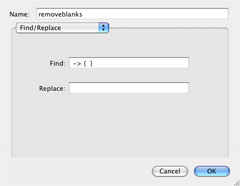
9. removeblanks: We still have to take care of one problem: not all pages will have a related tags section. This leads to lines of the form pagetag -> { } ; , which will confuse OmniGraffle. To fix this, we replace " -> { }" with nothing - this now leaves these lines in the form pagetag ;, which causes no problems:
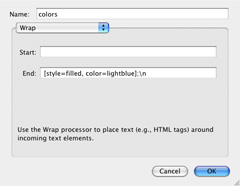
10. colors: We now turn our attention to the node coloring section. We take our list of page tags from strip above (ai and all of its related tags), and append to each line the text " [style=filled, color=lightblue];", followed by a line break:
11. colormerge: The result of colors is in the form of a "list of lists", where each page tag is a separate result. So as to merge these results into a single list, we use the custom snippet below:

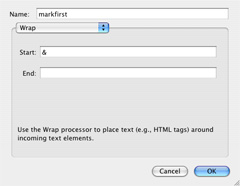
12. markfirst: If we wanted all the tags to be the same color - light blue - we'd be done now. However, we want our first node (ai) to be a different color - pink. So as to write a special color line for this node, we first make it easy to separate out by prefixing it with an ampersand:
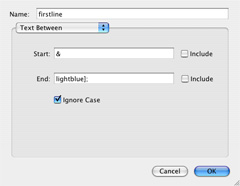
13. firstline: We now select this first line by itself, and cut off the "lightblue];" section:
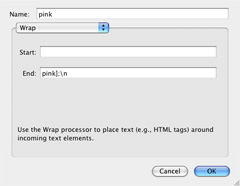
14. pink: Next, we add "pink];" followed by a line break to this line:
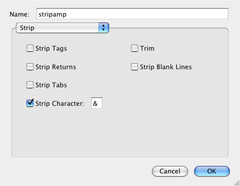
15. stripamp: Meanwhile, since the ampersand from markfirst has fulfilled its function, we remove it:
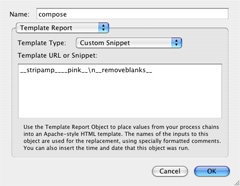
16. compose: Now, we can put our pieces together. First, we put in the colors section (stripamp) with all nodes set to "lightblue". Next, we put in the special ai node section (pink), with its color set to "pink" - since it comes later in the file than the "lightblue" section, it will override the color definition for ai. Finally, after a line break, we put in the node connection section (removeblanks):
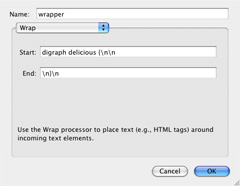
17. wrapper: We're almost done - the only thing missing is the beginning and ending of a "proper" dot file. We add these to our result from compose:
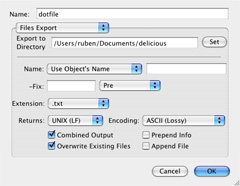
18. dotfile: All that remains now is to write our results to disk as a file called dotfile.txt. Note that you will need to change the directory listed in "Export to Directory" to make it work with your setup: